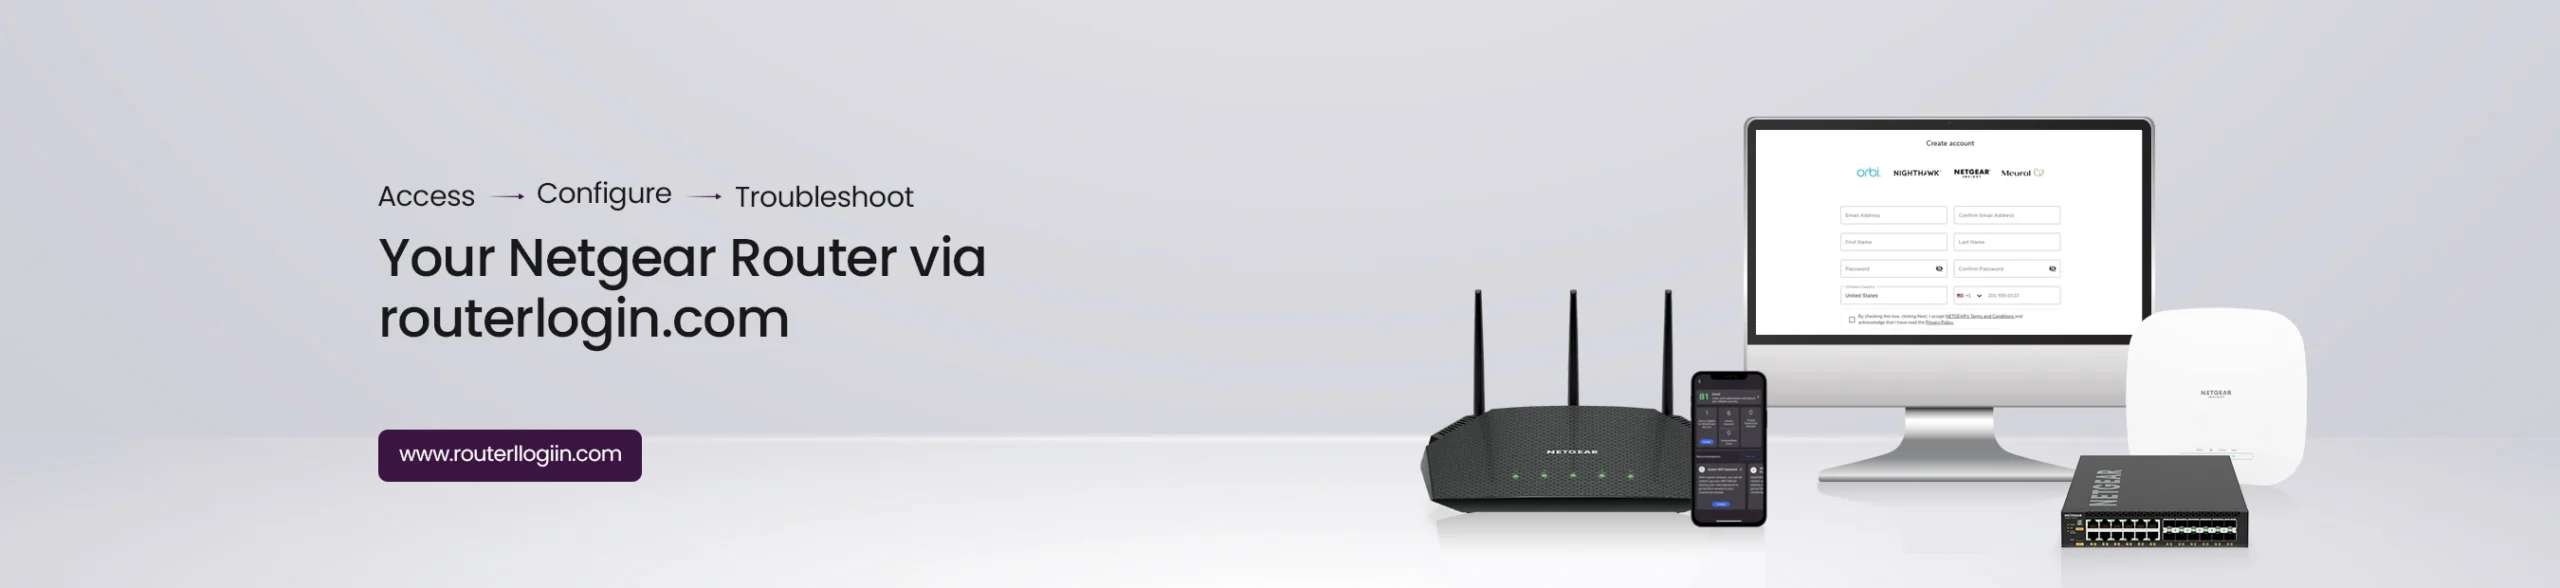

The Netgear Nighthawk BE12000 router offers blazing fast WiFi 7 supported data speeds up to 12Gbps and more. These speeds are more than sufficient for gaming, 4k/8k streaming, UHD video conferencing and supports AR/VR environments easily. However, all this is possible once you have configured the router settings and it is conveying wireless signals over in an uninterrupted manner. If you have recently upgraded to a Netgear Nighthawk wifi 7 router be12000, and are looking for information on how to set things up, this blog is a must read for you. We will discuss the easy steps for Nighthawk BE12000 WiFi 7 Tri-Band Router Setup and also discuss info on how to troubleshoot related issues in no time.
Netgear Nighthawk Tri Band WiFi 7 Router RS500 Review
Before you begin setting things up, it is essential that you know about the device. The Netgear BE15000 router is specifically made for bandwidth intensive tasks like gaming, video editing, HD video streaming and more. The router is capable of delivering 2.4 times faster internet speeds than WiFi 6. This feature helps it maximize the performance across all devices.
The Netgear Nighthawk WiFi 7 router be12000 comes with a sleek new body with smaller footprint and high performance antennas for coverage up to 3000 sq ft of WiFi coverage. The 2.5Gig LAN ports on the device help enable multi-gig speeds with the latest cable or fiber internet service plans. Although a separate modem is needed for the connection, the 2.5Gig and 1 Gig LAN ports offer fast wired connection to the modem.
Another cool feature with this router is the Netgear Armor that offers a powerful suite of tools to keep you safe online. This includes enhanced protection against hacking attempts, malware and identity theft like issues. These routers also come with built-in security protocols to safeguard your information. The Advanced Router protection enables enhanced safety features and updates that are designed to help support information security.
Nighthawk BE12000 WiFi 7 Tri Band Router Manual Setup
Before you start configuring your BE12000 router, you’ll need to ensure you have the required details with you. These will include the router admin details like the username and password, and the default web address or IP address.
All of these details can be found on the product label of the device, or in the product user manual that comes in the box. Once you have these details, you can proceed with the setup process. For a quick reference, you can use the following details:
- Username: admin
- Password: admin/ password
- Default Web Address: routerlogin.net
- Default IP address: 192.168.1.1
Now that you have the details you need, also ensure that you have an ethernet cable to connect your devices to each other. Once ready, you can start with the steps below:
Netgear Nighthawk BE12000 WiFi 7 Tri-Band Router Setup Steps
The Netgear Nighthawk router setup process begins with accessing the router login page.
Once you have access to the same, you can start configuring the settings so you can continue with the network settings part. Here are the steps you can follow to access the Netgear Nighthawk router setup page and begin with the setup:
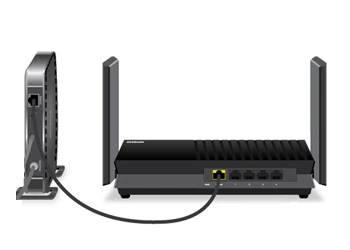
- Connect the DSL MODEM to the Netgear router using an Ethernet cable.
- Connect the Netgear BE12000 router to the computer system using another Ethernet cable.
- Plug in the power adapter cable to the devices, and the adapter to the power outlet and switch on the power supply.
- Once you have switched on the devices, allow them to come to a stable functioning state. Notice the LEDs on the front panel till they turn solid.
- Now, on your computer system or smartphone, open the Network Settings and connect to the Netgear Nighthawk wifi 7 router be12000’s wireless network. You can look up the network name in the available networks section. You will receive a “successful connection” once the devices are connected.
Accessing the web-based setup wizard
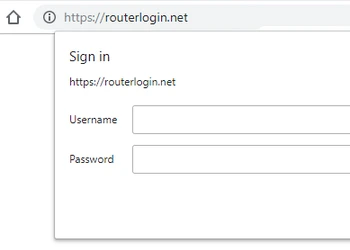
- Launch a web browser of your choice on your computer/smartphone and in the address bar, type the default web address http://routerlogin.net or simply www.routerlogin.net and press the Enter key.
- You will now be directed to the Netgear router login wizard. If you see an error message saying the device cannot connect to the network, there must be some issue with the network availability. Check if you are connected to the correct router network.
- You can also use the default IP address i.e. 192.168.1.1 and press Enter to access the Nighthawk router login wizard.
- Once you are on the Netgear Nighthawk login page, you will be required to key in the default username and the password details in the respective fields to gain access to the setup wizard.
- You can use the default access credentials which you can find on the product label or in the user manual that came with the device. In a majority of cases, you can use ‘admin’ as username and ‘password’ in the Password field. Click on the “login” button now and you will be taken to the homepage of the web-based Netgear nighthawk setup wizard.
Modifying the Network settings for your Nighthawk BE12000 RS500
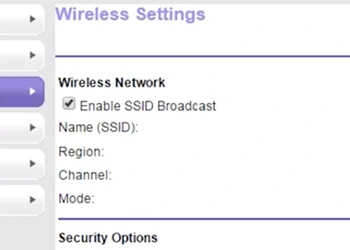
- From the various options that you see on the home page, click on the ‘wireless’ tab. The name of this tab can be different for different router models. Click on the appropriate button and you will see the wireless settings page appear as the next window.
- The Nighthawk BE12000 RS500 setup wizard will require you to specify the network name and password for the new network that you are setting up. If you are using a dual-band network, you will be required to configure both the network bands.
- Assign an SSID and a network password in the respective fields and then click on the Next button.
- You will now be asked to configure the admin ‘username’ and ‘password’ if you want. Replace the existing username and the password details with something that you want to keep.
- Once done, click on the ‘Save’ button. The final screen will show you the network summary with the username and password details written along with the network SSIDs and passwords being displayed.
- You can record the network details for future reference and can also print the same for your convenience.
This step concludes the Netgear Nighthawk BE12000 wifi 7 tri band router setup process. Your nighthawk router is now set up using the manual setup method. You can now restart the device and connect your wireless enabled devices to the newly setup router network.
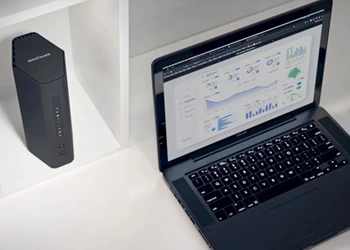
Nighthawk BE12000 WiFi 7 Tri-Band router firmware update
Firmware is the soul to your Nighthawk BE12000 router. All the functions and features are useful only as long as the firmware is kept updated. If you want your router to remain functional at all times, updating the same is very important. When you are having issues with the login or some other functionality, you can check if there’s an update pending. Here are some easy steps you can follow to keep it updated at all time:
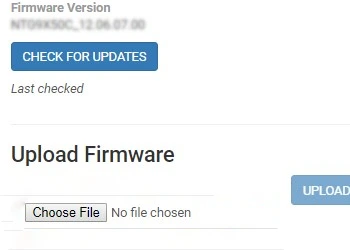
- Login to your router settings management wizard and update the firmware from the Advanced Tab.
- You can also follow the manual firmware update method wherein you can download the latest firmware file and then upload the same to your router.
When your device is updating the firmware version, it might restart a few times. Therefore, ensure that you do not turn it off or unplug it from the power outlet.
The Final Word
Completing the nighthawk be12000 wifi 7 tri band router setup process is easy when done using the right steps. Once you have access to the setup wizard, you can configure the network and device settings and get done with the setup process easily. Although you can always set up your router using the Nighthawk App as well, the nighthawk be12000 wifi 7 tri band router manual setup process provides much ease, since you can control the features and steps easily. If you face issues with configuring your device, you can always reach out to the team of experts at our end at any time.